Introduction
From the dusty trails of the Wild West to the style runways of these days, bolo ties have carved a completely unique area of interest in the international of personal style. Also called bola or string ties, those iconic fashion gadgets encompass the rugged individualism of the cowboy era with a touch of cutting-edge sophistication. For the ones trying to upload a personal, hand made touch to their cloth cabinet, making your very own bolo tie may be both a satisfying craft and a formidable fashion statement. In this complete guide, we are able to stroll you through the system of creating your very personal bolo tie.
Whether you’re a seasoned DIY fanatic or a fashion-ahead character, the bolo tie guarantees to be a standout accent, and this text will make sure you have got all the information you want to make one which sincerely displays your private fashion.
Materials Needed
Before you may begin crafting your bolo tie, it’s critical to acquire the proper materials. These are the tools and elements that will form the idea of your bespoke piece. Here’s what you may want:
Bolo twine or leather thong
Bolo slide
Decorative elements which includes beads, steel conchos, stones, or feathers
Super glue or appropriate adhesive
Scissors
Remember, the fine of the substances you choose will have an effect on the final look and sturdiness of your bolo tie. Be sure to select substances that mirror your personal taste and also will stand the check of time.
Step-by means of-Step Guide
1. Choosing the Right Cord and Slide
The basis of your bolo tie is the wire and the slide. You have a variety of options to pick out from, each influencing the overall aesthetic of your bolo tie. Thicker cords can offer a extra widespread presence, at the same time as the slide is in which you can inject character with specific shapes, substances, and designs.
When deciding on your cord, recollect the appearance and feel you need. Leather presents a classic, rugged look, even as satin or braided cords can provide a greater present day or formal appeal. Thicker cords and heavier slides may also require extra considerations for the rest of your materials, like heavier beads or charms, for stability.
2. Adding Decorative Elements
This is the step where you make your bolo tie certainly yours. Start with the aid of laying out your design on a flat floor. You might select to have a uniform sample, an asymmetrical layout, or a more minimalistic approach with only a unmarried standout element.
String beads onto the twine and take a look at how they look. If you’re the usage of more than one elements, it is able to take a few tries to achieve a stability which you’re happy with.
Once you have got the design in place, stable each bead or appeal with a dot of awesome glue. Be cautious now not to apply an excessive amount of as it is able to detract from the finished look and probably seep out from beneath beads or stones, marring the advent.

3. Securing the Ends
After your ornamental factors are in location, you will want to stable the ends of the bolo twine. This step is essential as it not most effective finishes the tie neatly but also guarantees your bolo retains its form and appeal over the years.
Trim the ends of the wire lightly and follow a small quantity of amazing glue to keep the strands from fraying. Then, fold them over and attach the bolo slide. This is where you could best-track the length of your bolo tie to fit your outfit and personal fashion.
The slide ought to be secured tightly in vicinity, so don’t forget making use of a in addition small line of glue within the slide before and once you insert the cord ends.
4. Styling Tips and Variations
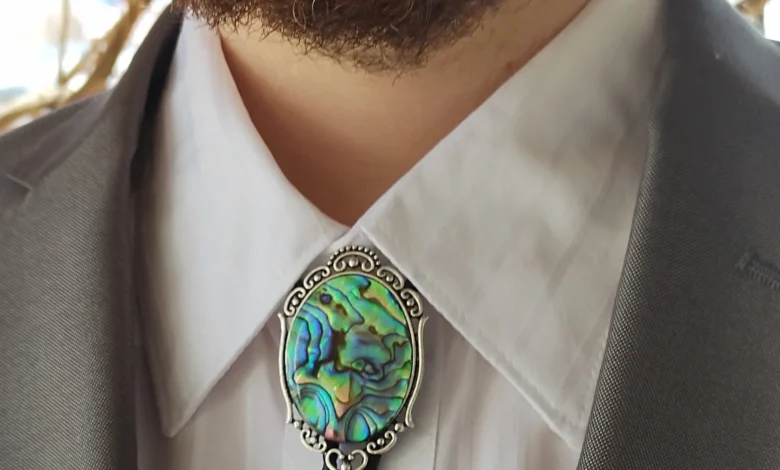
Your bolo tie is now entire, and it is time to wear it with panache. Remember, the beauty of a bolo tie is that it can be worn in many versatile styles. You can go conventional with a collared blouse, incorporating it into your normal Western put on, or you may use it to add a factor of interest to extra current looks, like sporting it over a outfitted turtleneck sweater.
If you need to acquire a greater structured look, don’t forget adding a tip to the quit of the twine, much like a conventional necktie. This no longer handiest provides character but additionally makes wearing the bolo more intuitive for everyone familiar with necktie styles.
Experiment with the slide placement. A higher placement, in the direction of your collar, can give a extra formal appearance, while a decrease setting can be informal and relaxed. It looks as if a small detail, but it can considerably change the overall effect.
Tips for Personalization
What makes a bolo tie truely special is its potential to be customized. Here are some ideas for tailoring your bolo tie to suit your individuality:
Choose beads or charms that replicate your interests or interests.
Add a hint of coloration with a dyed leather-based twine or vibrant stones.
Engraving your bolo slide with a favorite motto or image can make it even greater unique.
Experiment with specific forms of cords and textures, which include suede or woven substances, for a tactile distinction.
Remember, the most vital thing of the bolo tie is that it tells a tale. It’s a bit that draws the attention and invites conversation, so make certain it’s a tale you need to tell.

Conclusion
The bolo tie isn’t just an accent; it is a communication starter and a illustration of private fashion. By walking via this step-by using-step manual, you’ve got received the foundational understanding to craft your own bolo tie. Be formidable, be personalised, and most importantly, have amusing growing an accessory this is as specific as you are.
To all the style lovers, Western put on fans, and DIY creators accessible, the bolo tie is a clean canvas anticipating your contact. Now, exit there and make a announcement with a bolo tie that’s absolutely your personal.